AI 文章摘要
这篇文章介绍了如何美化PowerShell/CMD终端。首先,确认终端已下载并安装oh-my-posh。接着,通过安装插件如PSReadLine、posh-git和DirColors来增强功能。然后,启用oh-my-posh插件并修改字体和主题以改善视觉效果。文章还提供了在VS Code中设置字体、调整亚克力效果和透明度、安装终端增强工具Clink、下一代ls命令lsd以及系统配置显示工具Fastfetch的详细步骤。...
废话不多说,先上效果
前天手贱更新并重启了Windows,结果给我更出一堆bug:什么终端没了,WSL没了,WSA没了,输入法候选词没了。真的无语至极,下载镜像重新更新了两遍终于好了。然后把终端搞出来后,感觉这个终端用到的地方挺多的,索性美化了一下。结果就挺满意。如果同样觉得这个好看的同学,也可以跟着来一遍。
终端下载
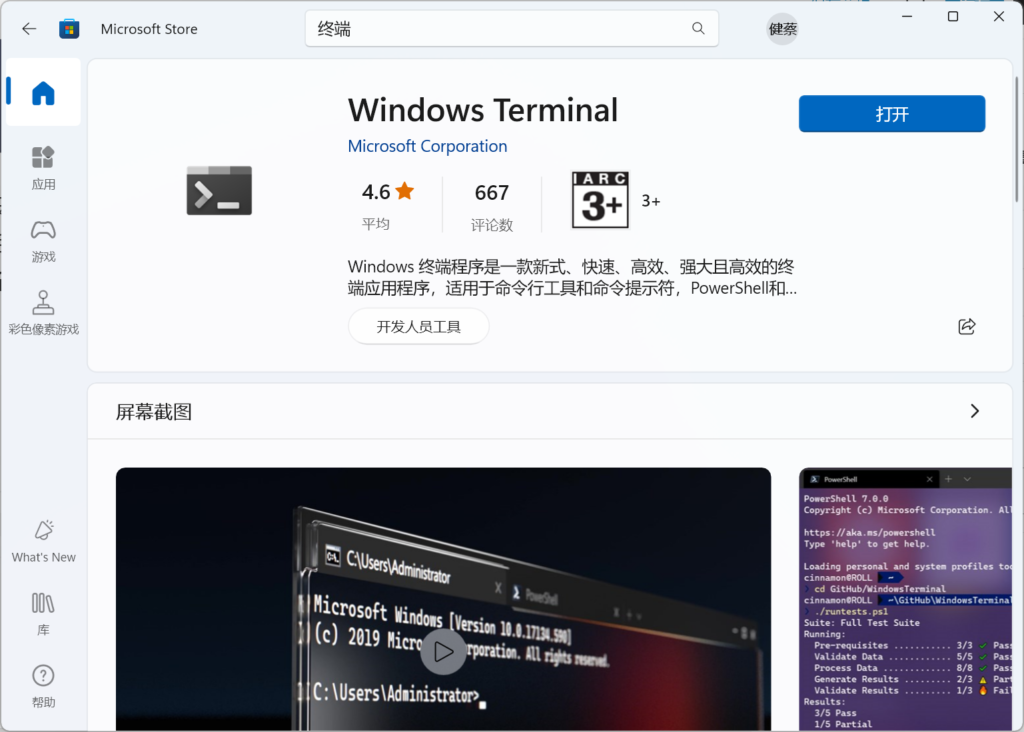
首先确认终端是否已经下载,一般Win11最新版本是自带的。
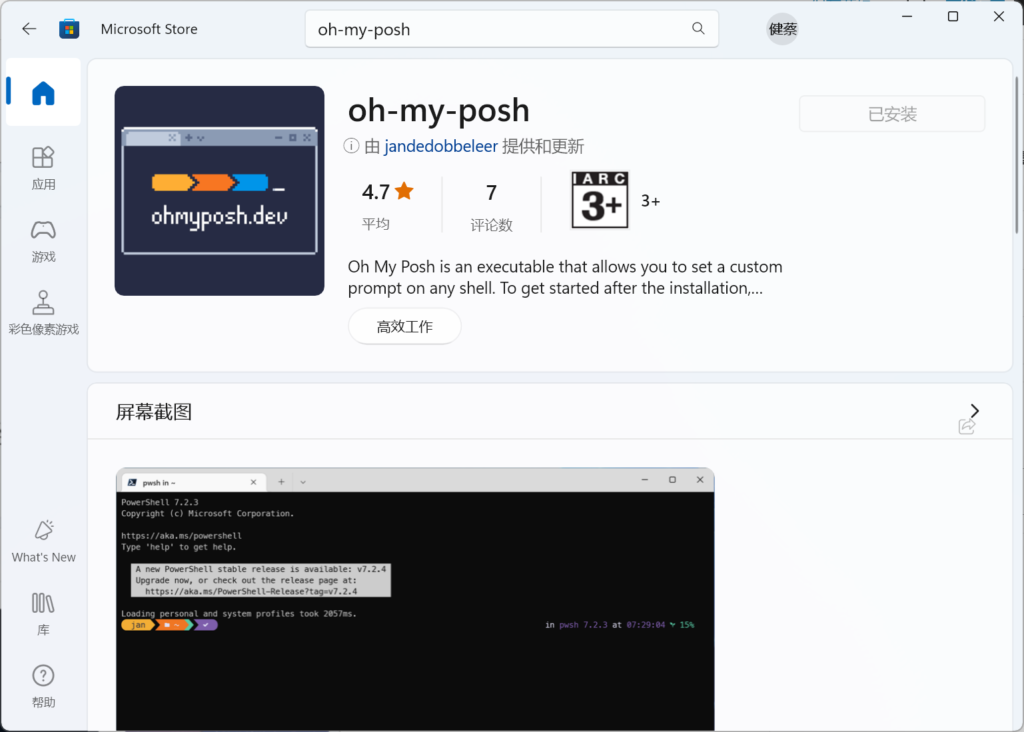
然后安装oh-my-posh,也在应用商店里。
如果powershell提示:因为在此系统上禁止 运行脚本。PS运行以下命令:
Set-ExecutionPolicy Unrestricted安装插件
启动终端的PowerShell,运行以下命令
#  -Verbose是为了更好的看进度, -Force是强制更新安装,如果有提示则按A(是)
# 更新PSReadLine最新版(一般原来自带v2.0.0)可以不装
Install-Module -Name PSReadLine -Scope CurrentUser -Verbose -Force
# 安装posh-git插件(用于git版本展现)
Install-Module posh-git -Scope CurrentUser -Verbose
# 安装DirColors(文件夹颜色)
Install-Module DirColors -Scope CurrentUser -Verbose
启用oh-my-posh插件
先查看$profile路径
    $profile
E:\Users\UserName\Documents\WindowsPowerShell\Microsoft.PowerShell_profile.ps1
创建文件
# 创建$profile文件(不确定有没有用,因为我是手工新建的)
if (!(Test-Path -Path $PROFILE )) { New-Item -Type File -Path $PROFILE -Force }
写入文件
# 用记事本编辑,如果你有更好的编辑器可以用其他方式打开,如Notepad++、Vim、VS Code等
notepad $PROFILE
写入文字保存以启用oh-my-posh插件
oh-my-posh init pwsh | Invoke-Expression再次打开PowerShell就可以看到好看的颜色了。
修改字体
但是字体图标不兼容会有乱码,可以到以下网站下载自己喜欢的全图标字符字体:
Nerd Fonts – Iconic font aggregator, glyphs/icons collection, & fonts patcher
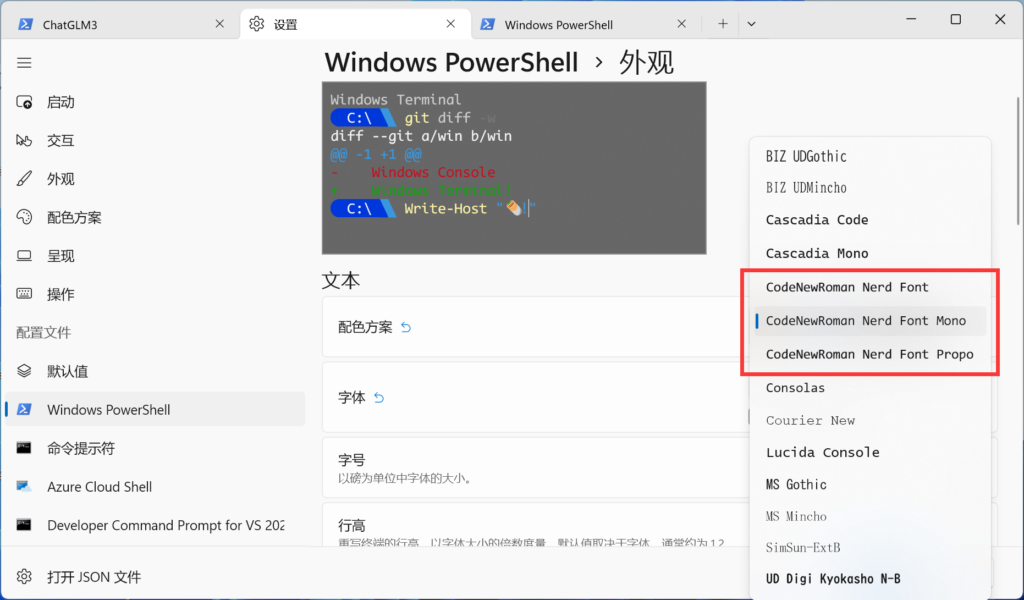
我用的CodeNewRoman,这个0是带斜杠的,而且a没有头发,算是比较好看的等宽字体吧。
然后解压右键安装:

然后选择字体:
更换oh-my-posh主题
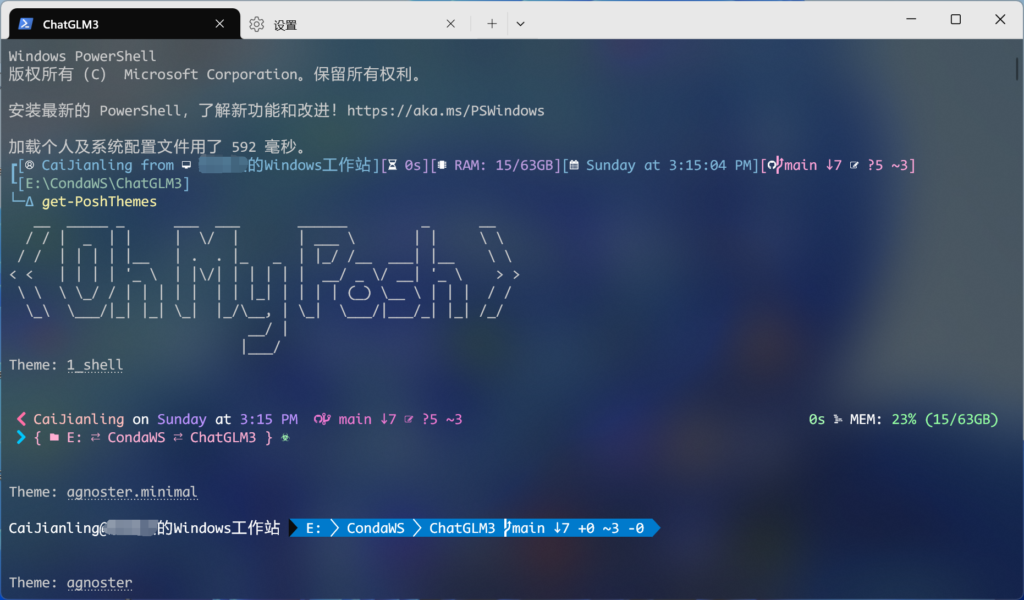
在终端输入
Get-PoshThemes可以看所有已有的主题预览,如果需要使用,则到文件夹:
C:\Users\UserName\AppData\Local\Programs\oh-my-posh\themes下面找到所想要的主题,添加到$profile中,例如我用的是Tokyo,那么$profile为:
oh-my-posh init pwsh --config "C:\Users\CaiJianling\AppData\Local\Programs\oh-my-posh\themes\tokyo.omp.json" | Invoke-Expression重启终端就能看到效果。
VS Code设置
VS Code中如果不更换字体也会乱码
进入VS Code设置,搜索Integrated:Font Family,将字体改为需要的字体即可,例如我的CodeNewRoman就改为:
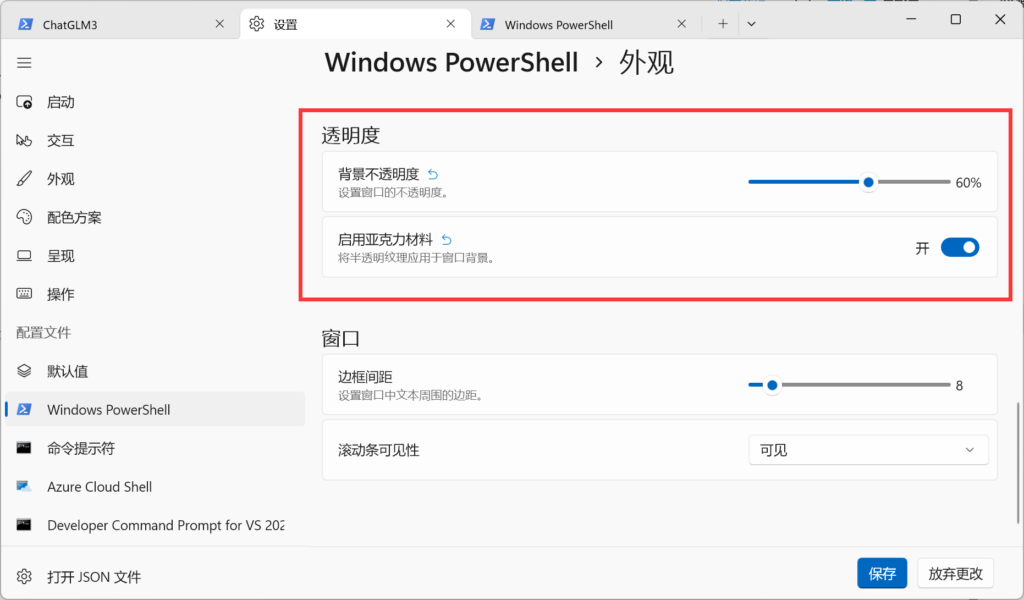
CodeNewRoman Nerd Font Mono亚克力效果、透明度
这个是终端自带的,按需调整即可,如果需要同时调整所有终端,可以更改【默认值】:
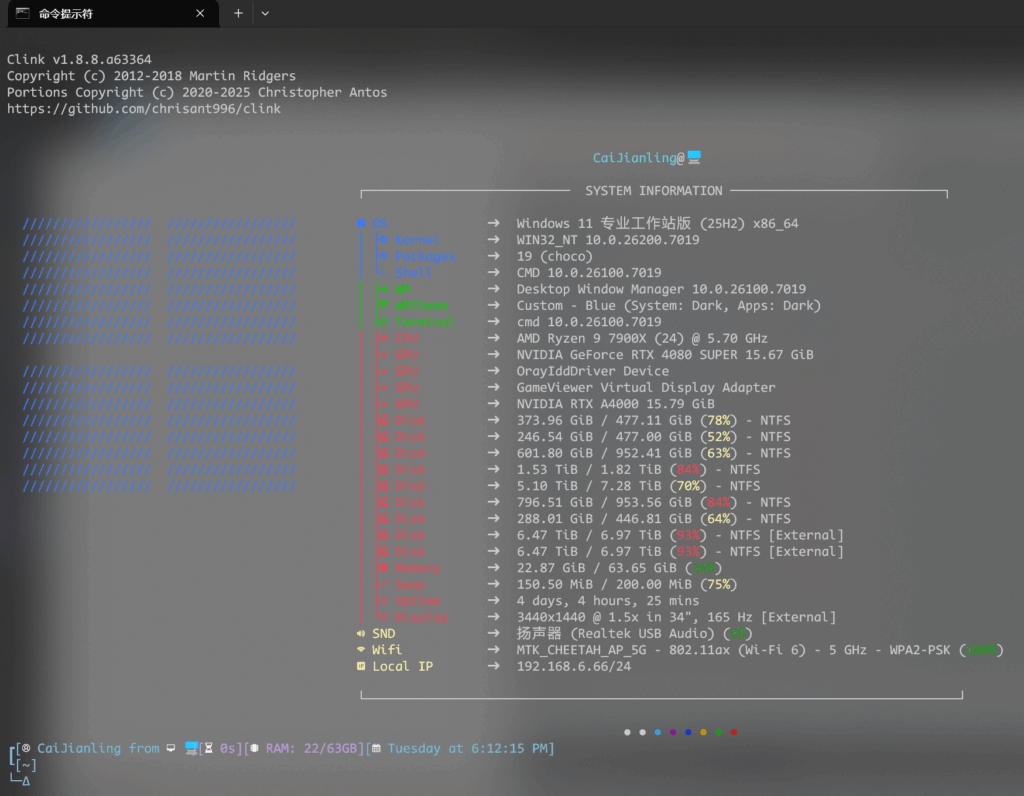
安装终端增强:Clink
官网:https://chrisant996.github.io/clink/
安装完成后重启 Windows Terminal 中的 CMD,然后输入 clink info 命令获取插件目录:
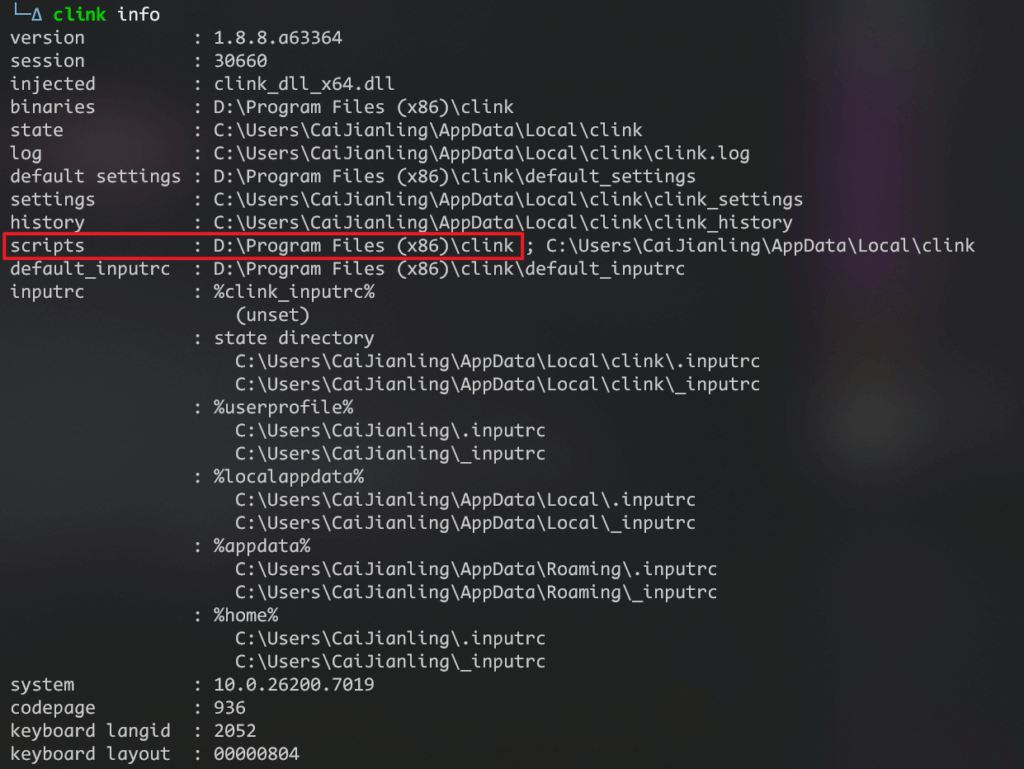
打开插件目录,创建 oh-my-posh.lua 脚本,内容如下(我用的Tokyo主题):
load(io.popen('oh-my-posh init cmd --config C:\\Users\\%username%\\AppData\\Local\\Programs\\oh-my-posh\\themes\\hunk.omp.json'):read("*a"))()

-- 在线预览所有主题:https://ohmyposh.dev/docs/themes

-- 推荐主题:
-- powerlevel10k_classic
-- hunk
-- sim-web
-- kali
-- kushal
-- hul10
-- honukai
-- craver
-- amro
替换主题只需修改 hunk 为其他主题名称即可。
开启 “瞬态提示符”(transient prompt): clink set prompt.transient same_dir
去掉启动 banner:clink autorun install -- --quiet
详细教程:https://halc.top/p/82bd449c
安装下一代 ls 命令: lsd
项目地址:https://github.com/lsd-rs/lsd
快速安装终端直接输入:
winget install --id lsd-rs.lsd系统配置显示:Fastfetch
项目地址:https://github.com/fastfetch-cli/fastfetch#windows
使用 winget 安装会自动配置环境变量: sudo winget install fastfetch
为了让 cmd 启动时自动运行 fastfetch,再次打开 clink 插件目录,创建 clink_startup.lua 脚本,内容如下:
-- 切换到指定目录
-- os.execute('cd /d E:\\User\\%username%\\Desktop')

-- 设置 doskey 别名
os.execute('doskey ll=lsd -lFha')
os.execute('doskey pwd=cd')
os.execute('doskey clear=cls')
os.execute('doskey ls=lsd')

-- 运行fastfetch
os.execute('D:\Users\%username%\AppData\Local\Microsoft\WinGet\Links\fastfetch.exe')

-- 设置中文编码并隐藏输出(fastfetch会导致chcp 936失效)
os.execute('chcp 936>nul')
fastfetch 配置文件 (%userprofile%\.config\fastfetch\config.jsonc) 如下:
改自:dotfiles/tui_cli/fastfetch/config.jsonc at main · Efterklang/dotfiles,可下载上级文件夹下的presets获取logo资源。更多好看的配置:https://github.com/sqlsec/fastfetch
{
"$schema": "https://github.com/fastfetch-cli/fastfetch/raw/dev/doc/json_schema.json",
"logo": {
"source": "~/.config/fastfetch/presets/preset.txt",
"padding": {
"right": 8,
"left": 2,
"top": 5
}
},
// "logo": {
// "source": "./presets/nyarch.png",
// "type": "iterm",
// "height": 25,
// "width": 40
// },
"display": {
"separator": "➜ "
},
"modules": [
"break",
{
"type": "title",
"format": " {6}{7}{8}"
},
"break",
{
"type": "custom",
"format": "┌─────────────────────────── SYSTEM INFORMATION ────────────────────────────┐"
},
"break",
{
"type": "os",
"key": " OS ",
"keyColor": "blue"
},
{
"type": "kernel",
"key": "│ ├ Kernel ",
"keyColor": "blue"
},
{
"type": "packages",
"key": "│ ├ Packages ",
"keyColor": "blue"
},
{
"type": "shell",
"key": "│ └ Shell ",
"keyColor": "blue"
},
{
"type": "de",
"key": " DE ",
"keyColor": "green"
},
{
"type": "wm",
"key": "│ ├ WM ",
"keyColor": "green"
},
{
"type": "lm",
"key": "│ ├ LM ",
"keyColor": "green"
},
{
"type": "wmtheme",
"key": "│ ├ WMTheme ",
"keyColor": "green"
},
{
"type": "terminal",
"key": "│ ├ Terminal ",
"keyColor": "green"
},
{
"type": "host",
"key": " PC ",
"keyColor": "red"
},
{
"type": "cpu",
"key": "│ ├ CPU ",
"keyColor": "red"
},
{
"type": "gpu",
"format": "{2} {7}",
"key": "│ ├ GPU ",
"keyColor": "red"
},
{
"type": "disk",
"key": "│ ├ Disk ",
"keyColor": "red"
},
{
"type": "memory",
"key": "│ ├ Memory ",
"keyColor": "red"
},
{
"type": "swap",
"key": "│ ├ Swap ",
"keyColor": "red"
},
{
"type": "uptime",
"key": "│ ├ Uptime ",
"keyColor": "red"
},
{
"type": "display",
"key": "│ └ Display ",
"keyColor": "red"
},
{
"type": "sound",
"key": " SND ",
"keyColor": "yellow"
},
{
"key": " Wifi ",
"keyColor": "yellow",
"type": "wifi"
},
{
"key": " Bluetooth ",
"keyColor": "yellow",
"type": "bluetooth"
},
{
"key": " Local IP ",
"keyColor": "yellow",
"type": "localip",
"compact": true
},
"break",
{
"type": "custom",
"format": "└──────────────────────────────────────────────────────────────────────────────┘"
},
"break",
{
"type": "colors",
"paddingLeft": 35,
"symbol": "circle",
"block": {
"width": 10
}
}
]
}最终PowerShell的ps1文件:
oh-my-posh init pwsh --config "C:\Users\CaiJianling\AppData\Local\Programs\oh-my-posh\themes\tokyo.omp.json" | Invoke-Expression

# Import the Chocolatey Profile that contains the necessary code to enable
# tab-completions to function for `choco`.
# Be aware that if you are missing these lines from your profile, tab completion
# for `choco` will not function.
# See https://ch0.co/tab-completion for details.
$ChocolateyProfile = "$env:ChocolateyInstall\helpers\chocolateyProfile.psm1"
if (Test-Path($ChocolateyProfile)) {
  Import-Module "$ChocolateyProfile"
}

# 设置别名(PowerShell 中 alias 永久生效需配置 profile,这里为当前会话临时设置)
Set-Alias -Name ll -Value 'lsd' -Option AllScope
Set-Alias -Name pwd -Value 'Get-Location' -Option AllScope
Set-Alias -Name clear -Value 'Clear-Host' -Option AllScope
Set-Alias -Name ls -Value 'lsd' -Option AllScope

# 运行 fastfetch(使用环境变量获取当前用户目录)
$fastfetchPath = "D:\Users\$env:username\AppData\Local\Microsoft\WinGet\Links\fastfetch.exe"
if (Test-Path $fastfetchPath) {
    & $fastfetchPath
} else {
    Write-Warning "fastfetch 未找到,请检查路径: $fastfetchPath"
}

# 设置中文编码(936 对应 GBK),隐藏输出
chcp 936 | Out-Null
最终结果预览:
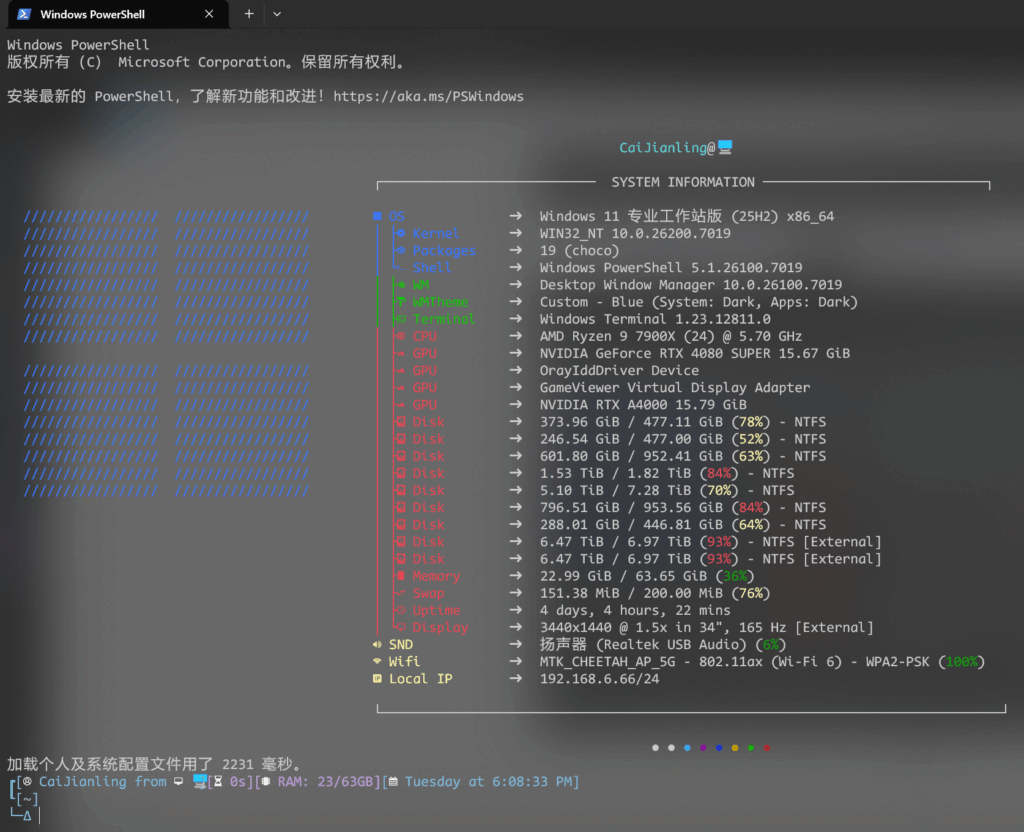
由于没有显示conda虚拟环境,我找了AI帮我优化了配置文件
# 1. 初始化 Oh My Posh
oh-my-posh init pwsh --config "C:\Users\CaiJianling\AppData\Local\Programs\oh-my-posh\themes\tokyo.omp.json" | Invoke-Expression

# 2. 初始化 Miniconda (方案二核心)
# 这一步确保了 $env:CONDA_DEFAULT_ENV 能被 Oh My Posh 读取
$condaExe = "D:\Users\CaiJianling\miniconda3\Scripts\conda.exe"
if (Test-Path $condaExe) {
    (& $condaExe "shell.powershell" "hook") | Out-String | Invoke-Expression
}

# 3. 设置编码为 UTF-8 (比 chcp 936 更兼容图标)
[Console]::OutputEncoding = [System.Text.Encoding]::UTF8

# 4. Chocolatey 补全支持
$ChocolateyProfile = "$env:ChocolateyInstall\helpers\chocolateyProfile.psm1"
if (Test-Path $ChocolateyProfile) {
    Import-Module "$ChocolateyProfile"
}

# 5. 设置别名 (使用更加健壮的方式)
function Set-MyAlias ($name, $value) {
    if (Get-Command $value -ErrorAction SilentlyContinue) {
        Set-Alias -Name $name -Value $value -Option AllScope
    }
}
Set-MyAlias ll lsd
Set-MyAlias ls lsd
Set-Alias pwd Get-Location -Option AllScope
Set-Alias clear Clear-Host -Option AllScope

# 6. 运行 Fastfetch (优化路径查找)
if (Get-Command fastfetch -ErrorAction SilentlyContinue) {
    fastfetch
} elseif (Test-Path "D:\Users\$env:username\AppData\Local\Microsoft\WinGet\Links\fastfetch.exe") {
    & "D:\Users\$env:username\AppData\Local\Microsoft\WinGet\Links\fastfetch.exe"
}
额外一步(重要):
为了防止 Conda 自带的提示符和 Oh My Posh 冲突(导致出现两个环境名),请在终端执行一次以下命令:
conda config --set auto_activate_base false